Butterflying a chicken is one of those kitchen techniques that you should just know how to do.
I know, I know….I know some people get all weird’ed out about handling a big ol’ raw bird.
Well, get over it. It won’t bite.
[rss-cut]
Learning how to butterfly a whole chicken will save you some cooking time, because the chicken will lay flat on your cooking surface.
It’s easy peasy.
You will just need some heavy duty kitchen shears or a large, very sharp and sturdy chefs knife.
I use my Cutco Scissors because they are the best ever.
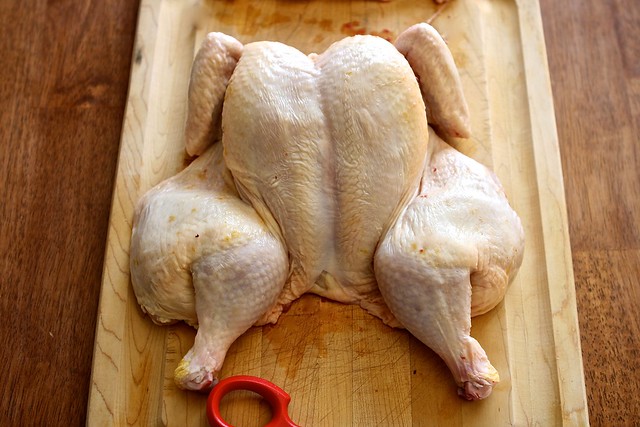
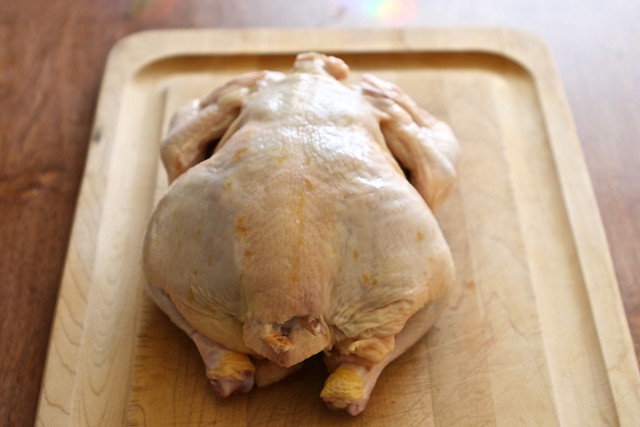
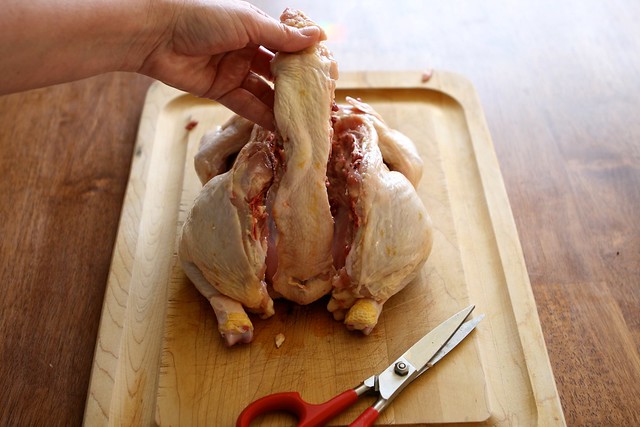
Get yourself a nice big chicken, rinse it and dry it well.
Turn the chicken breast side down, take your scissors and cut through the chicken on one side of the backbone.
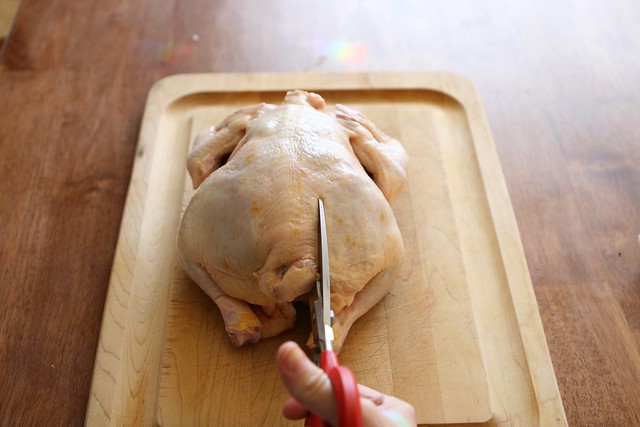
Cut alllll the way through.

Do the same thing on the opposite side of the backbone.
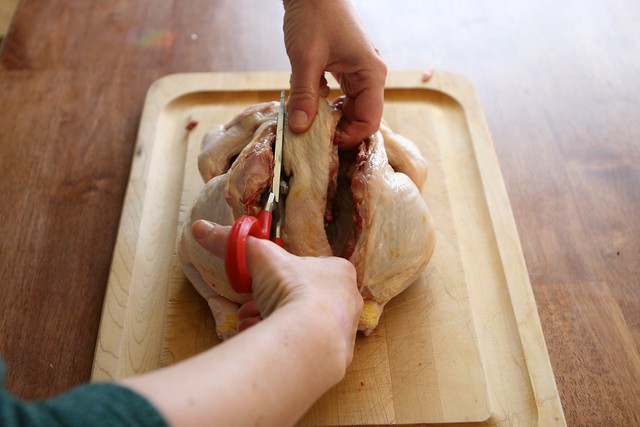
Remove the backbone.
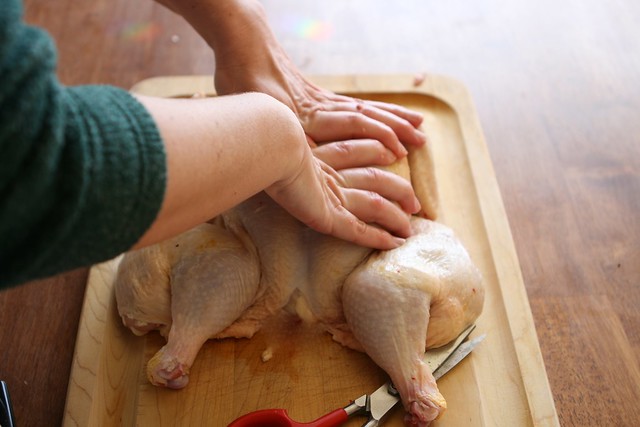
Flip the bird over and with all of your might, press down on the chicken breasts until you hear it crack, thus breaking the breast bone. This will help flatten the chicken.
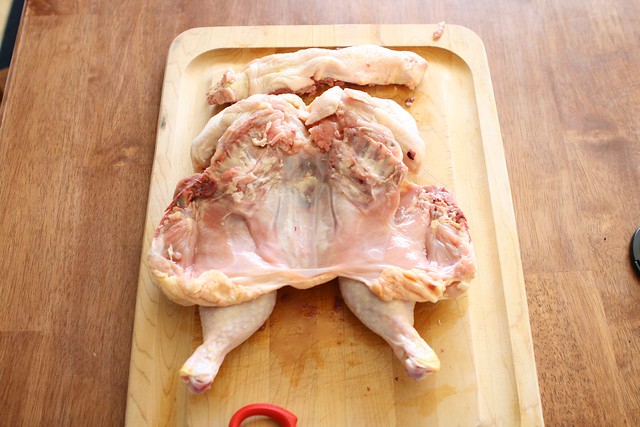
Here is what the underside will look like.
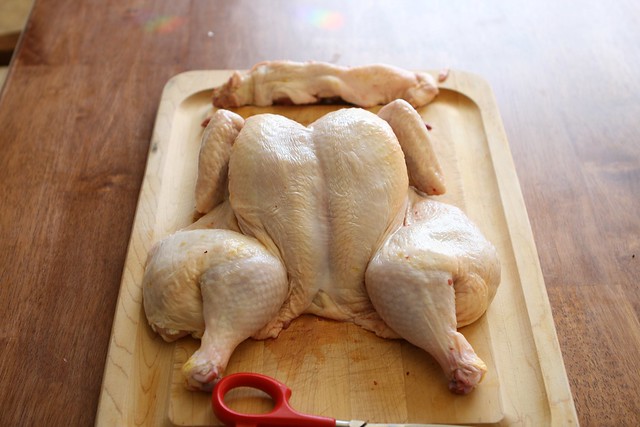
And there you have it, a perfectly butterflied chicken ready for quick cooking!
That cracking sounds seems like it would be strangely satisfying. Is it weird that I just said that?
It’s a stress reliever…for sure!
I am laughing so hard, it IS so satisfying, in a sadistic way! LOL
LOL..it is!
Nice step by step–Because I for sure wouldn’t have had a clue in the world!
🙂 Its super easy.
Good job! I like the step by step photos.
I once watched my mom dissect a whole chicken in like under five minutes. It was such a proud moment for me!
Great step-by-step photos! I’ll be the first one to admit that I’ve never butterflied a whole chicken. You make it look less scary!
great tip, i’ve actually never thought to butterfly a chicken, but i bet it really does save a lot of time!
Great tutorial! Thank you! I just wouldn’t do it on a wooden cutting board unless I was certain I could sanitize it afterwards!
Thanks Jan. Yes, I always sanitize and I only use that cutting board for poultry.
Great idea, I wouldn’t have thought of teaching this in a blog. I will refer anyone with questions to this excellent step by step! Make sure to save the backbones for stock!!!